Process Post 6: Scholastic's "Say What?!" page development

Phase 1: Concept Sketch | This was one of 4 original concepts I pitched for an "angy chameleon" for the book's cover. The Art Director liked the idea of the boxing chameleon but wanted to see two facing off instead of just one.

Phase 1: Concept Sketch | This was one of 4 original concepts I pitched for an "angy chameleon" for the book's cover. The Art Director liked the idea of the boxing chameleon but wanted to see two facing off instead of just one.

Phase Two: Rough Sketches | Here is the revised cover concept showing two chameleons facing off. This was approved as is so it was off to the drawing and rough color stage.

Phase Two: Rough Sketches | Here is the revised cover concept showing two chameleons facing off. This was approved as is so it was off to the drawing and rough color stage.

Phase Three: Proposed Color | This was the original proposed artwork for the cover. The publisher didn't like the yellow and asked to add a background.

Phase Three: Proposed Color | This was the original proposed artwork for the cover. The publisher didn't like the yellow and asked to add a background.

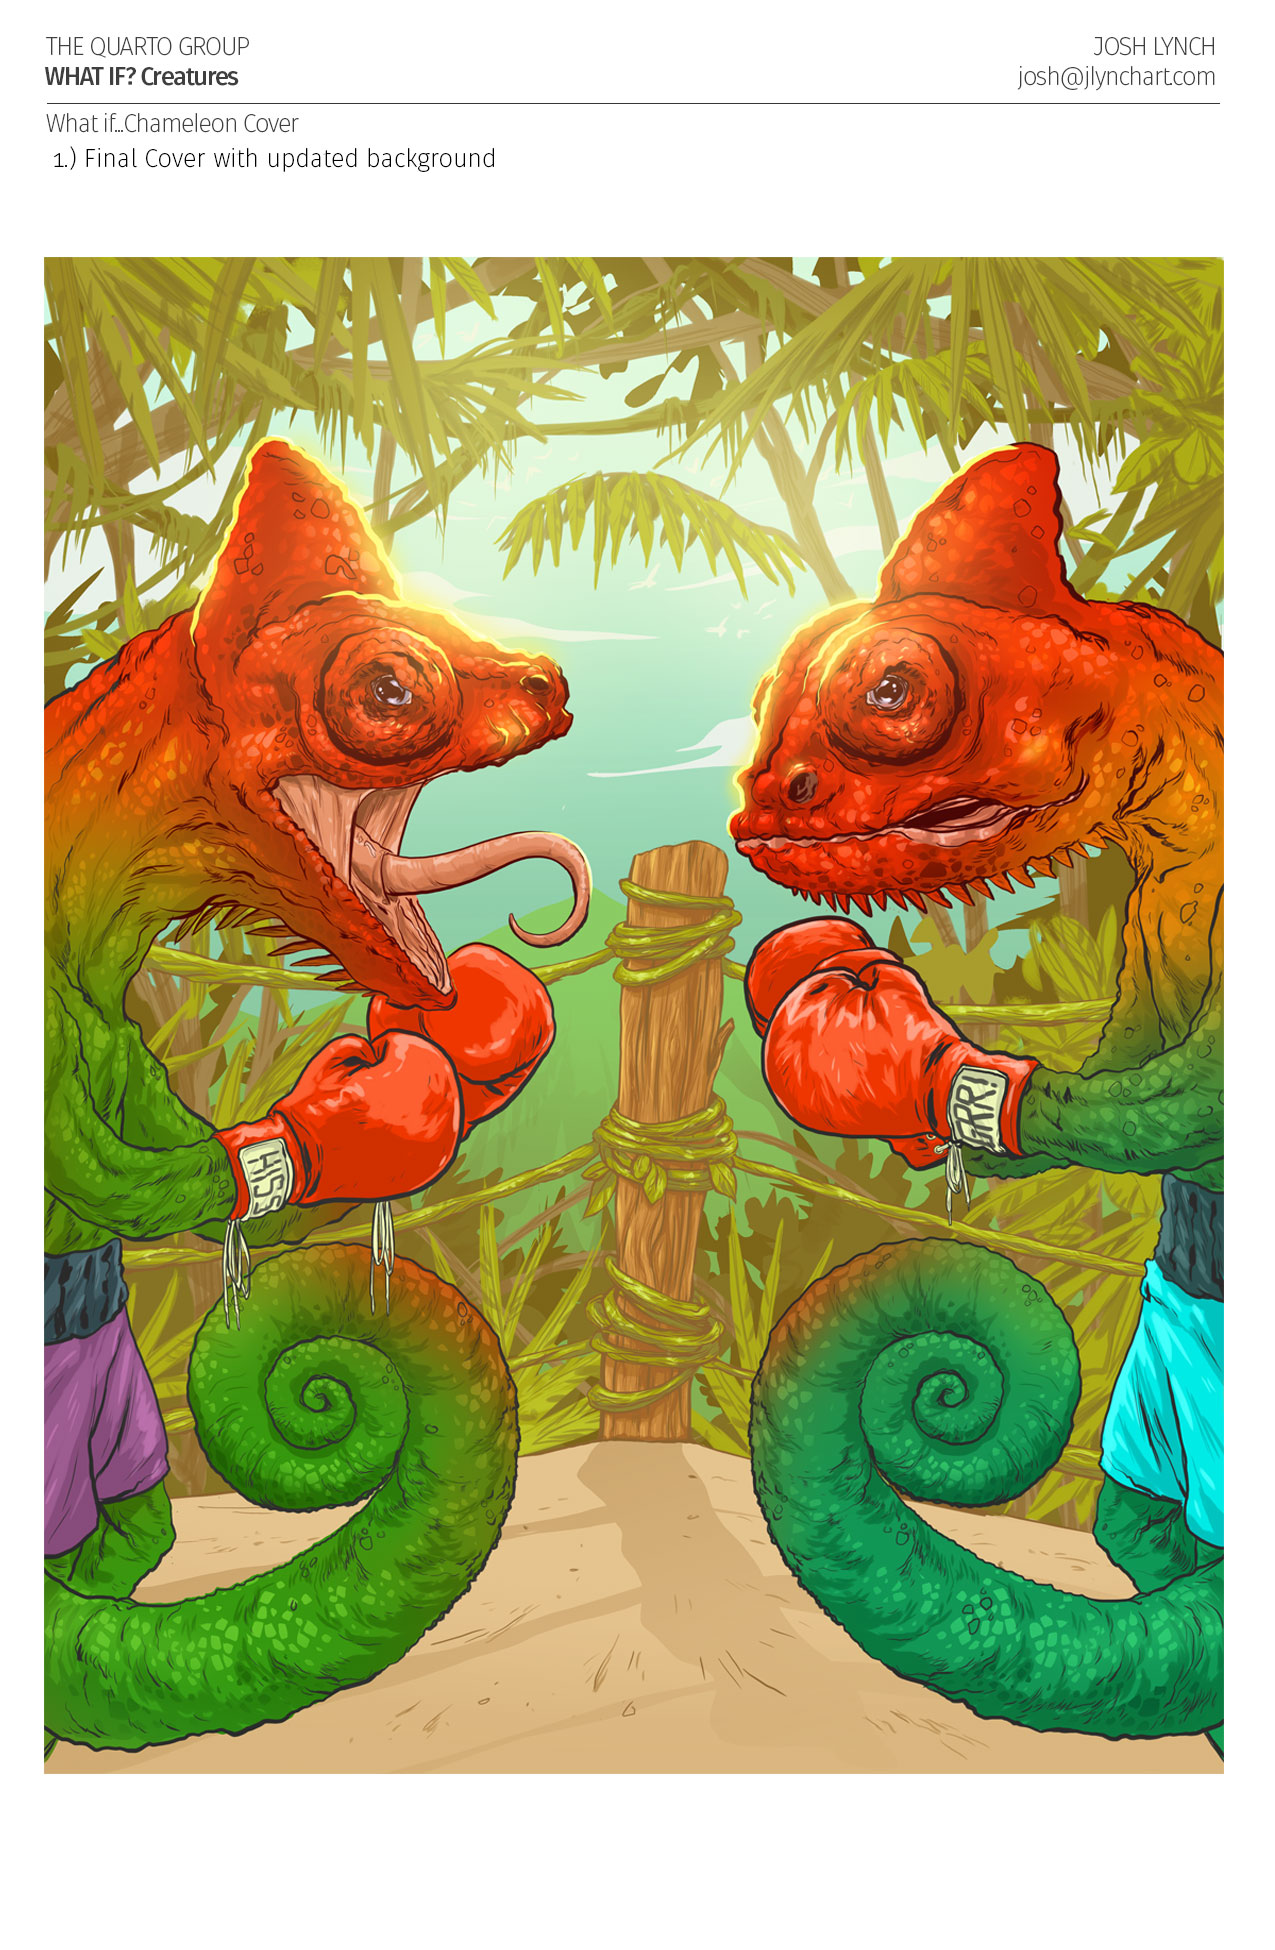
Phase Four: Final Illustration | Here is the finished cover with the updated background. This was ultimately rejected for the cover, but was later revisited as a two page spread for the interior. The AD requested to flesh out the background further …

Phase Four: Final Illustration | Here is the finished cover with the updated background. This was ultimately rejected for the cover, but was later revisited as a two page spread for the interior. The AD requested to flesh out the background further to use it as a two page spread. Also note that in the next phase the title of the book changed.

Phase Five: Repurposed Art | This is the final approved two page spread featured on the interior of the book. I was sad it didn't make the cover but glad it was used in the end. The input from the AD and publisher definitely made for a stronger fini…

Phase Five: Repurposed Art | This is the final approved two page spread featured on the interior of the book. I was sad it didn't make the cover but glad it was used in the end. The input from the AD and publisher definitely made for a stronger finished product.

Process Post 4: Deep Stretch

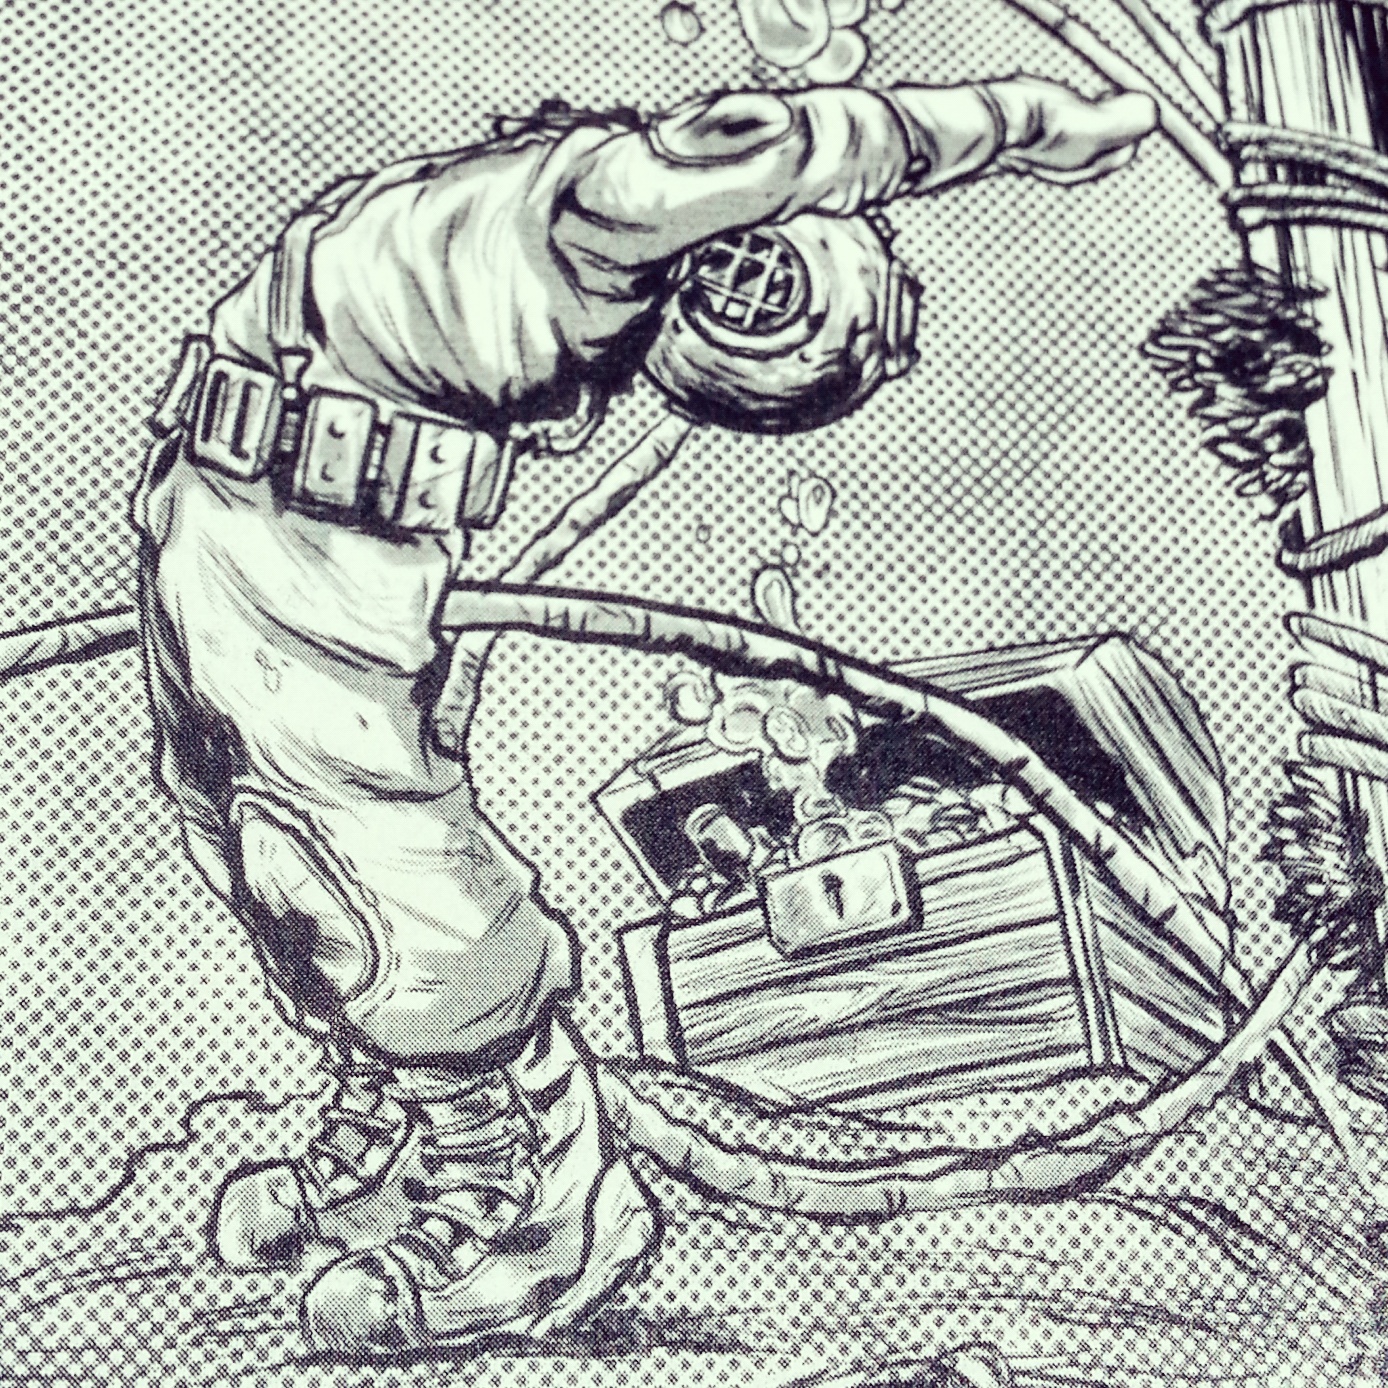
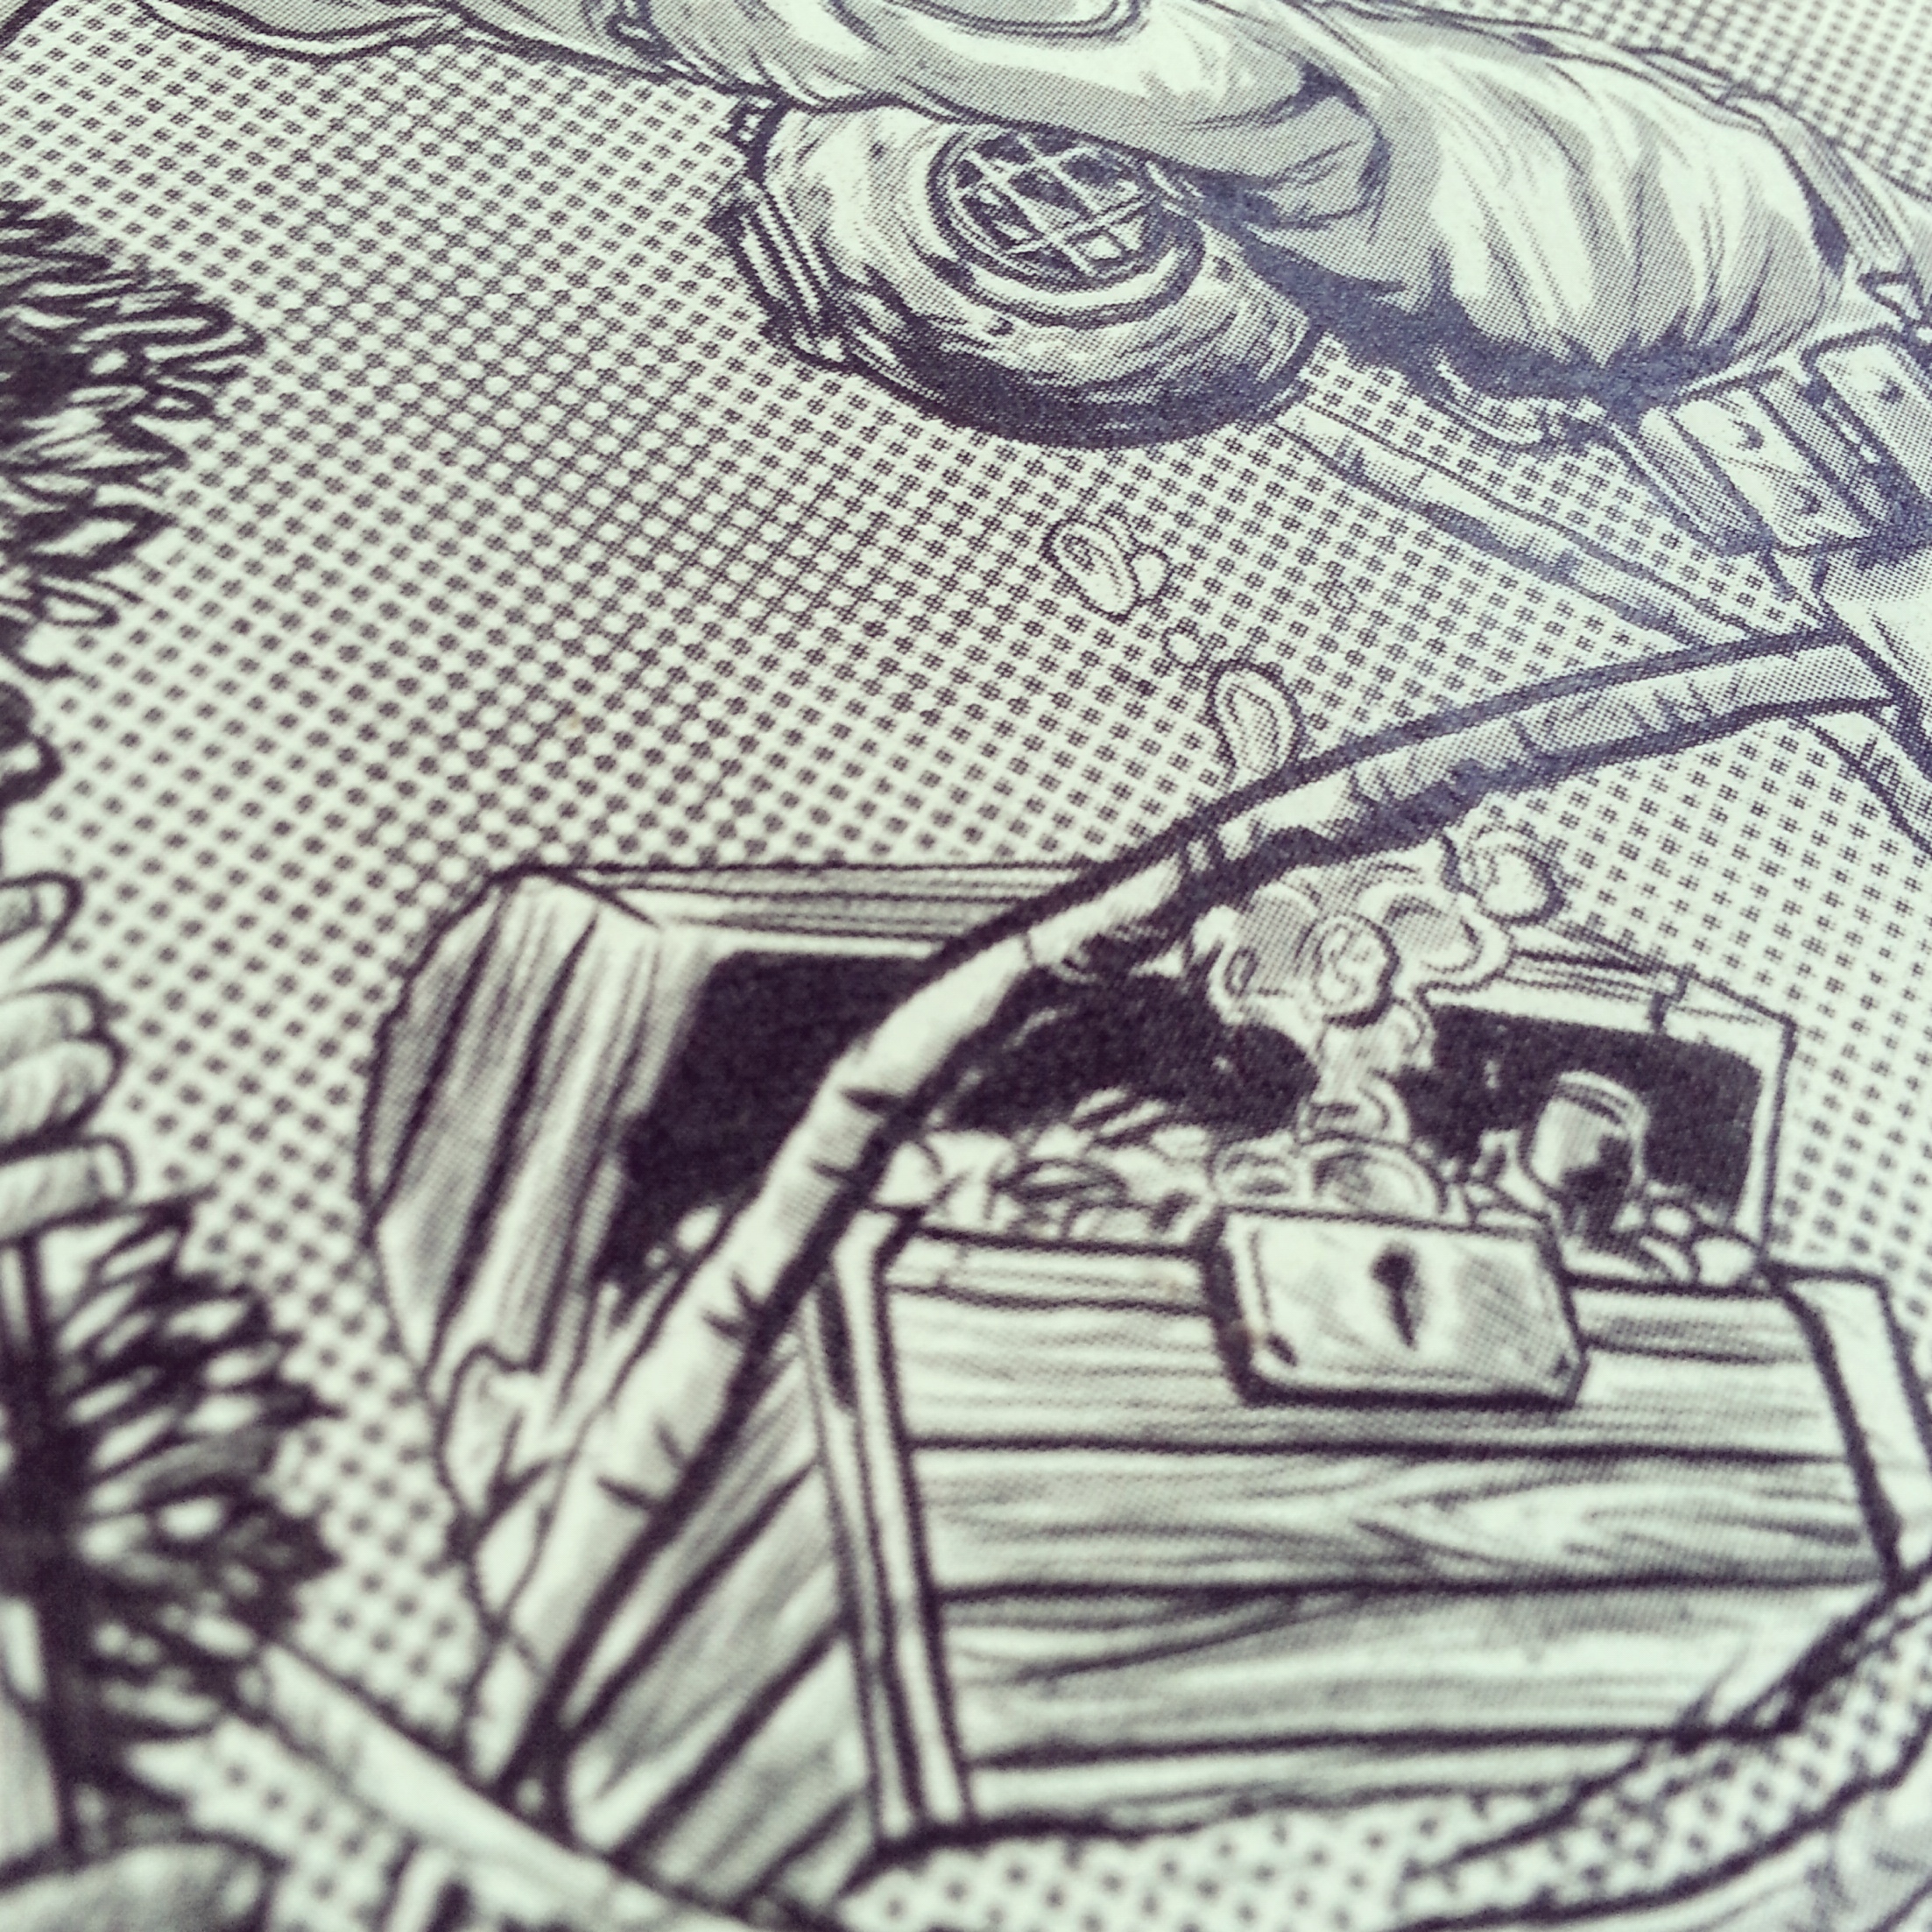
When the team at Michael Roger, the publishers behind Decomposition Books, reached out to me to do a Scubadiving / Yoga mashup I was all over it.  What follows is the creative process from concept to finished print.

*Special thanks to Eric and Jacob Held for the Art Direction

1.) Concept sketches: After talking through the key poses I worked up a few concepts that offered a variety of framing devices. In this phase I'll typically flip the drawing horizontally back and forth the check the compositional balance.


2.)Lineart: Once I had an approved concept sketch I moved on to create the lineart in Photoshop CC on my Surface Pro 3. Each diver and individual element was created as it's own layer in Photoshop for ease of manipulation.  When I illustrate I typically doing my sketching in green and my lineart on a layer above in red.  This helps me separate the two visually.  And I just turn the sketch layer off once I'm done but I always keep it so I can reference back to it.

Capture.JPG

3.) Toning and Color: Once the lineart had been approved I drew in the shadows and created a toned inkwash using the Kyle Webster watercolor brushes. I then turned the wash layer into a halftone bitmap to create a zipatone look. Following that I overlayed the multiple layers and began to experiment with some hue and level adjustment layers to add color.

Deep_Stretch_wash0.JPG

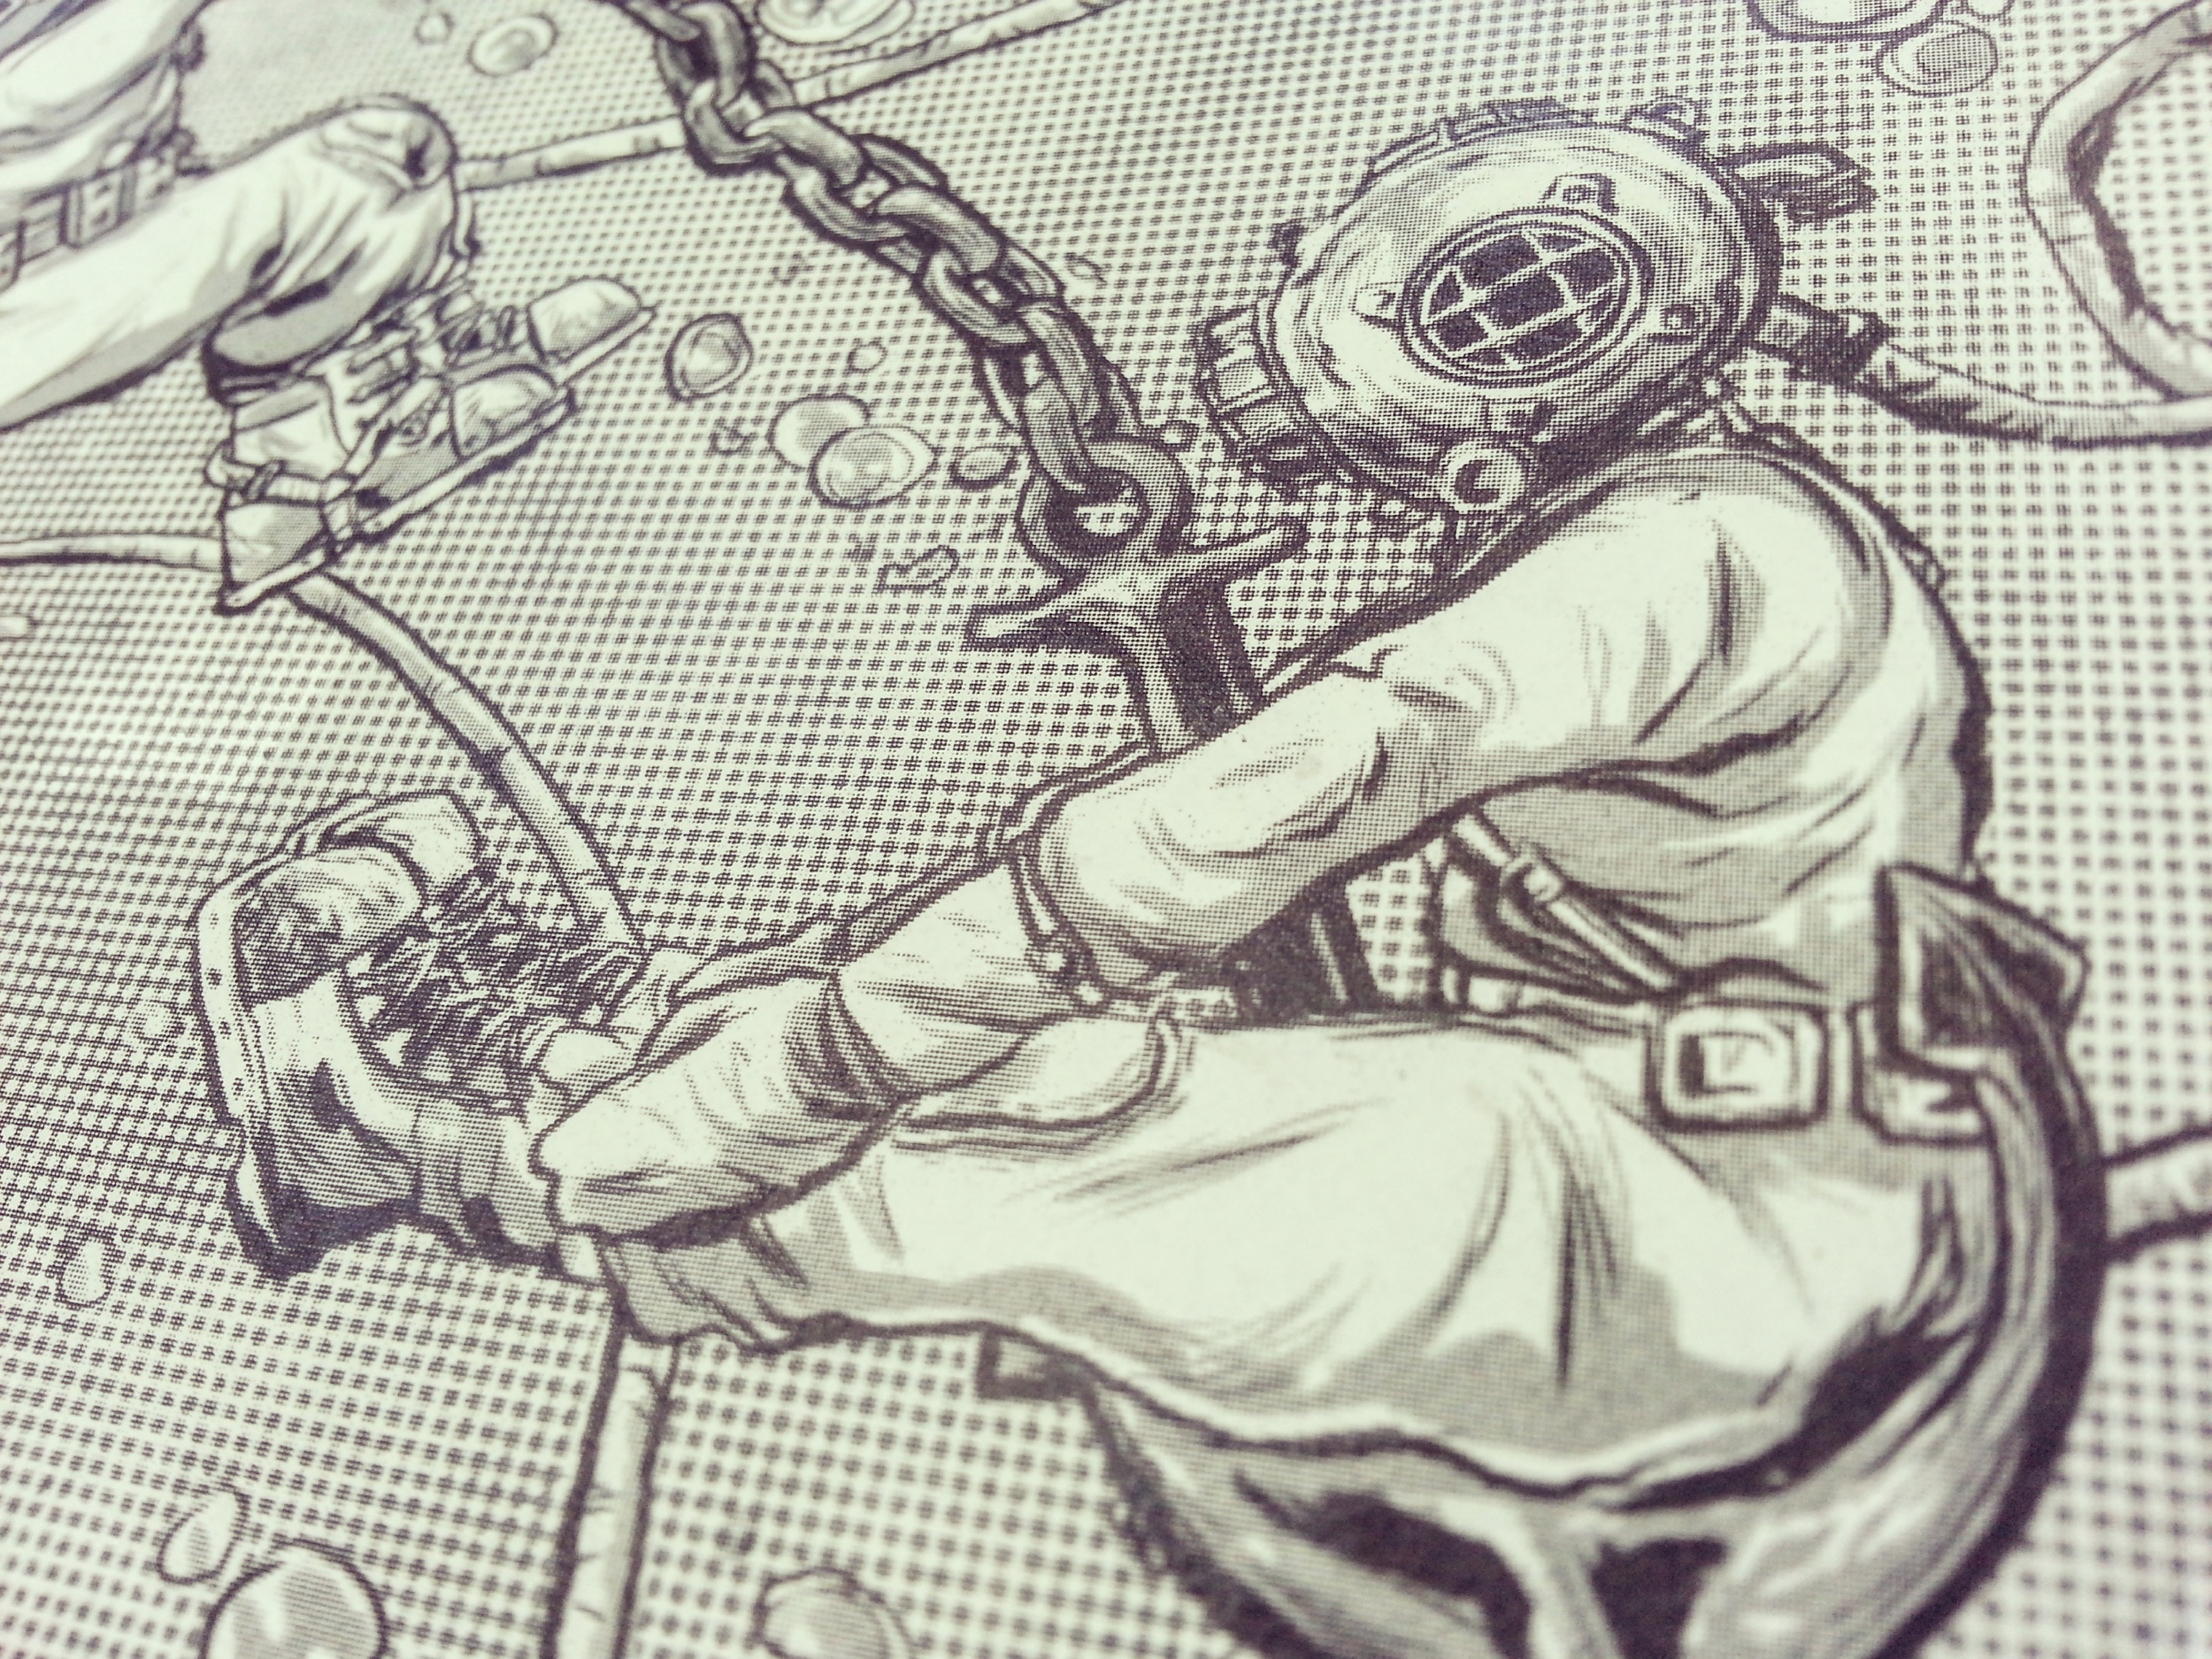
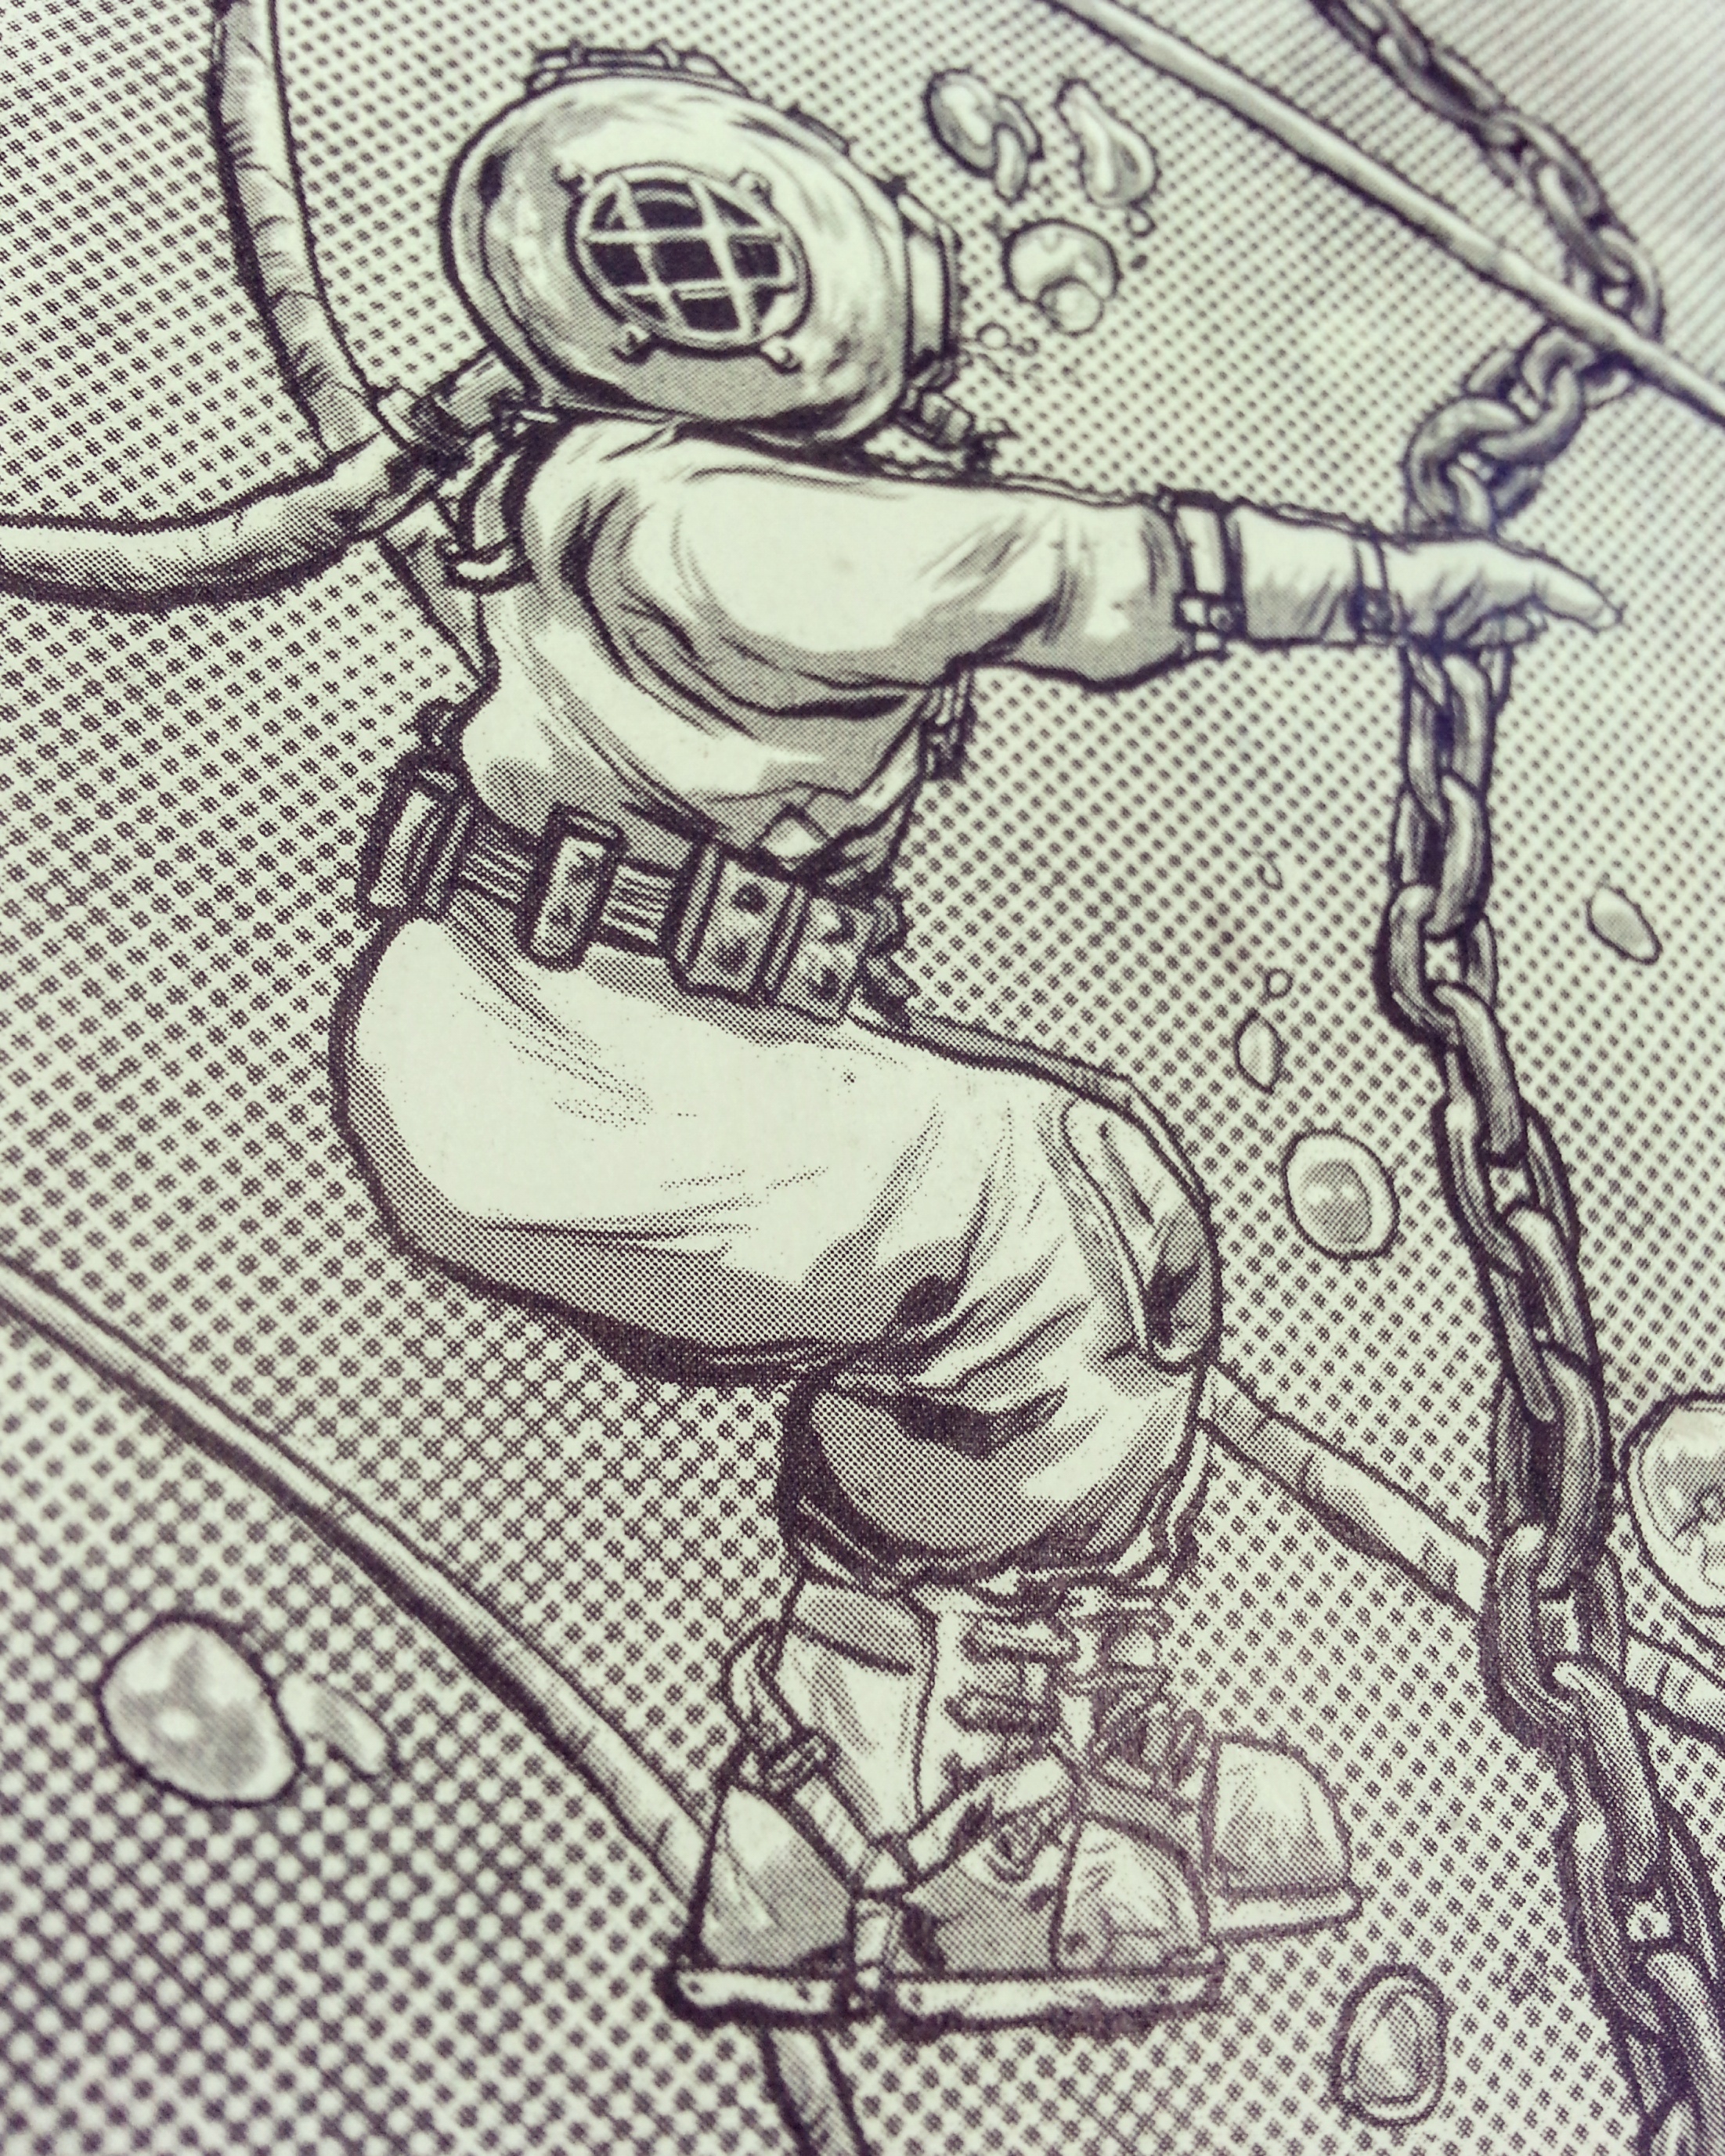
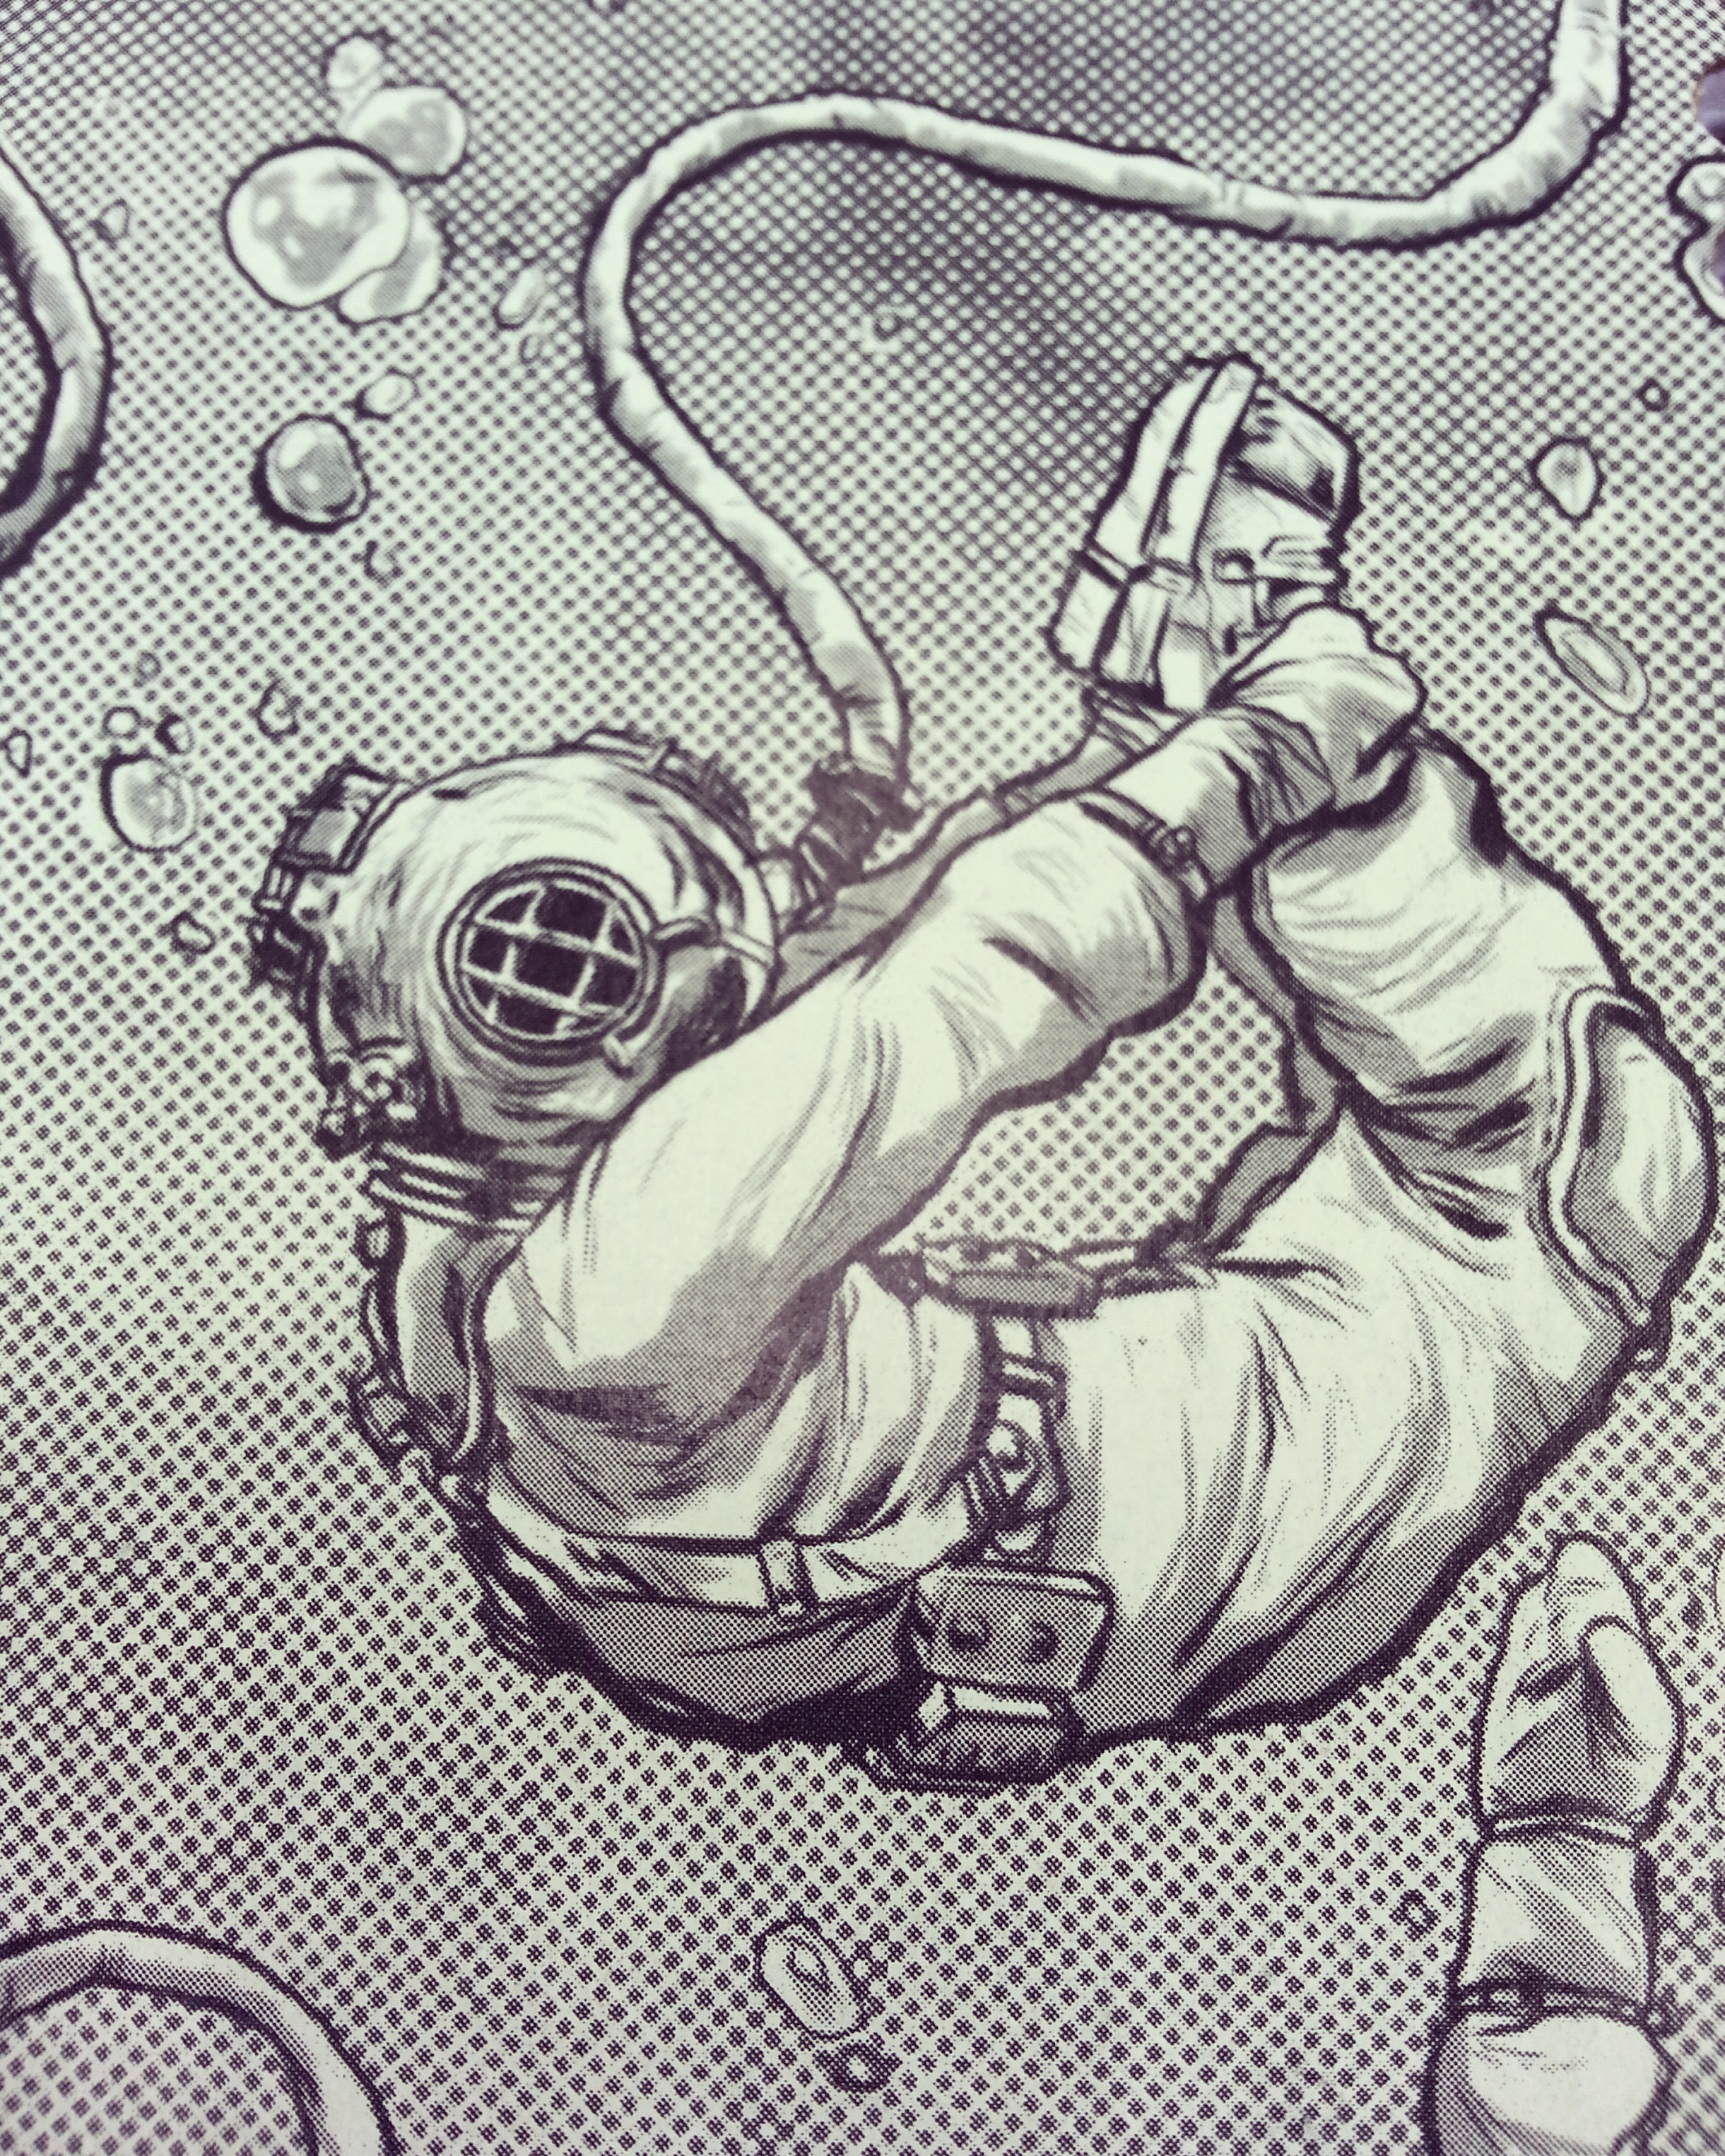
4.)Print: Although we experimented with color it was ultimately decided to go greyscale with the print.  The trade dress was added and the cover went to print.  Below are some samples from the print itself.